Seagull 102 restoration

A dedicated area to showcase your ongoing and completed restorations.

Moderators: Alacrity, Rapier

User avatar
sean-nós
Posts: 743
Joined: Mon Nov 16, 2009 8:19 pm
CMBA Member: 793

Seagull 102 restoration

Post by sean-nós »

For those of you that are not on FB :D here is my 1955-56 102

Image


Image


Image

Image


Image

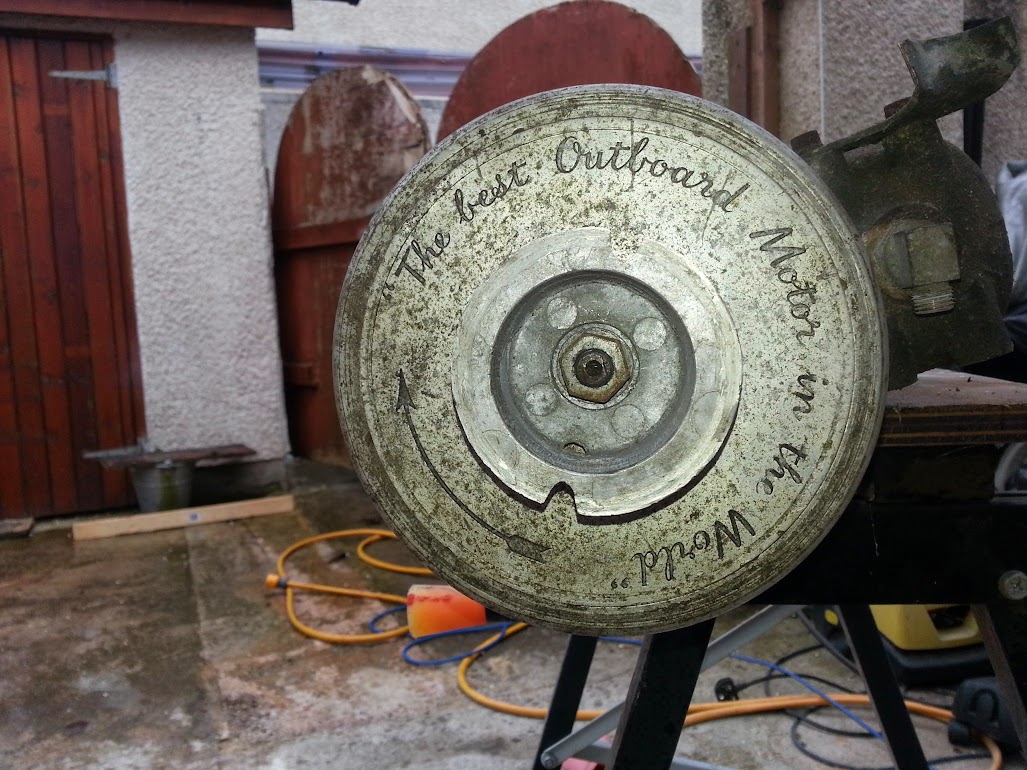
This one must be good it say's so on it :)


Image

Not much left of her now :)


Image


All striped down now not much to them :)


Image

User avatar
sean-nós
Posts: 743
Joined: Mon Nov 16, 2009 8:19 pm
CMBA Member: 793

Re: Seagull 102 restoration

Post by sean-nós »

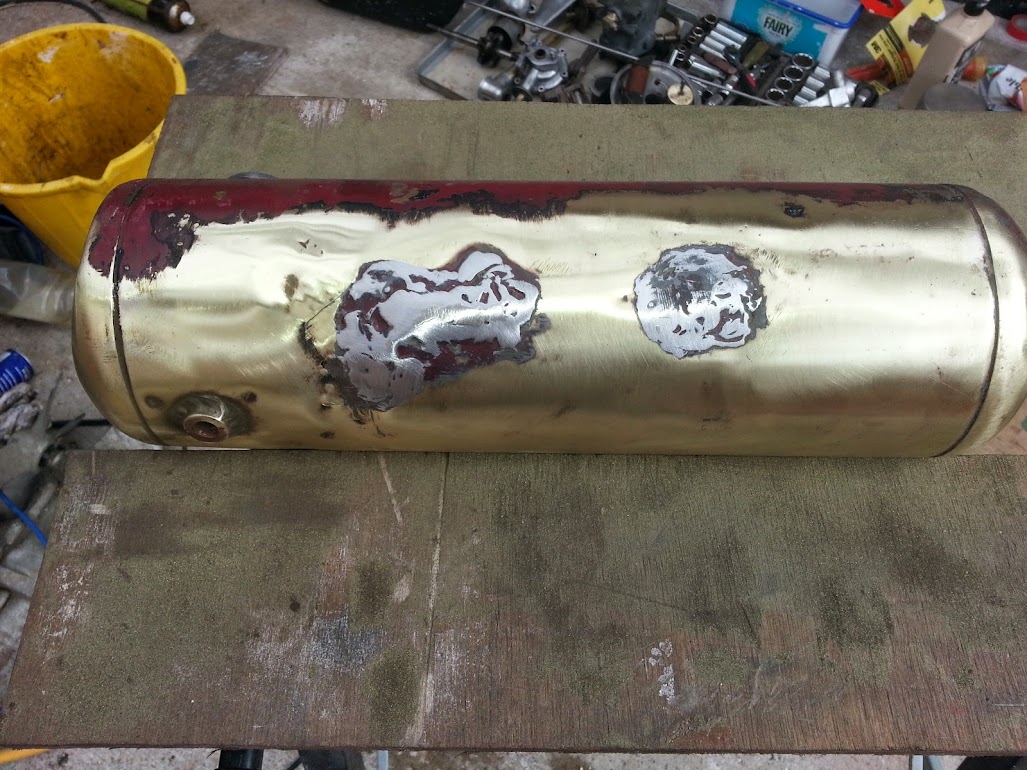
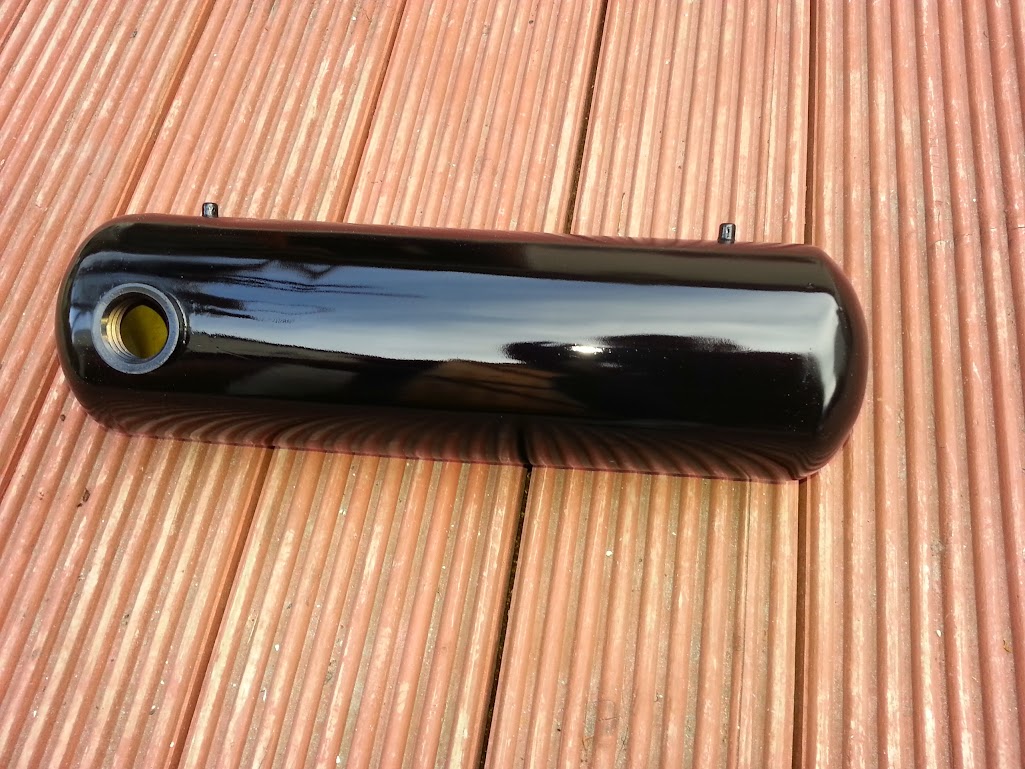
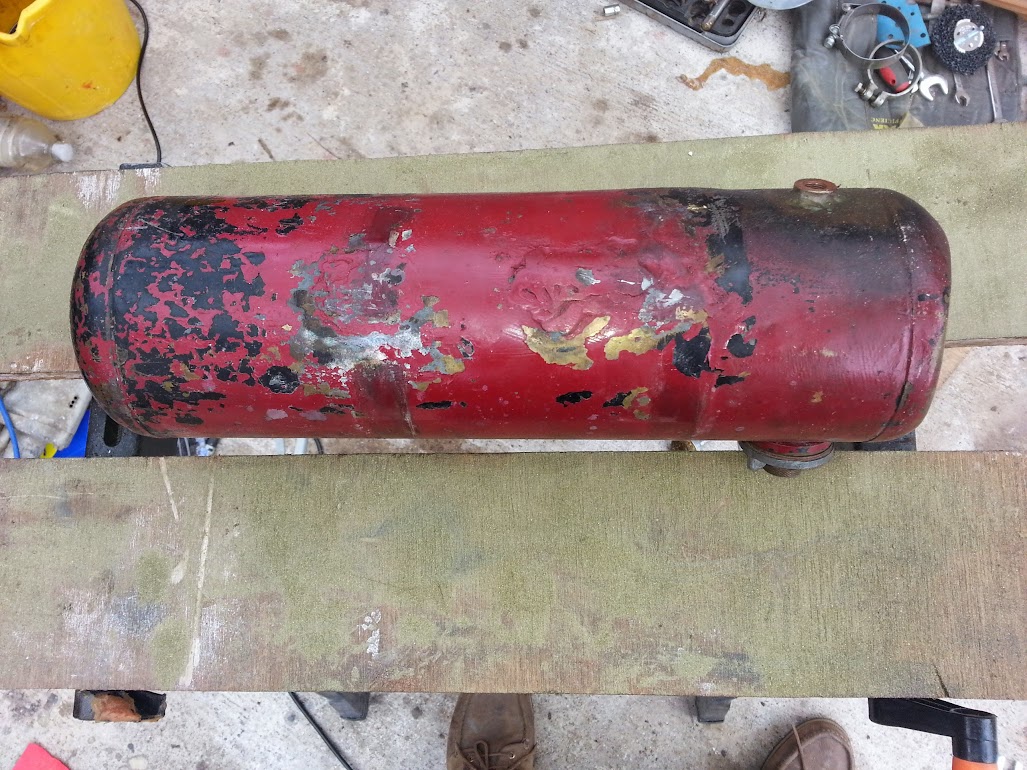
Getting down to brass tacks :) I started to clean up the fuel tank hoping to do a nice polished brass finish to it but as it turned out someone had patched it up before :( so I'll just clean it up fill the dints and paint it black.
Image

Image

Image

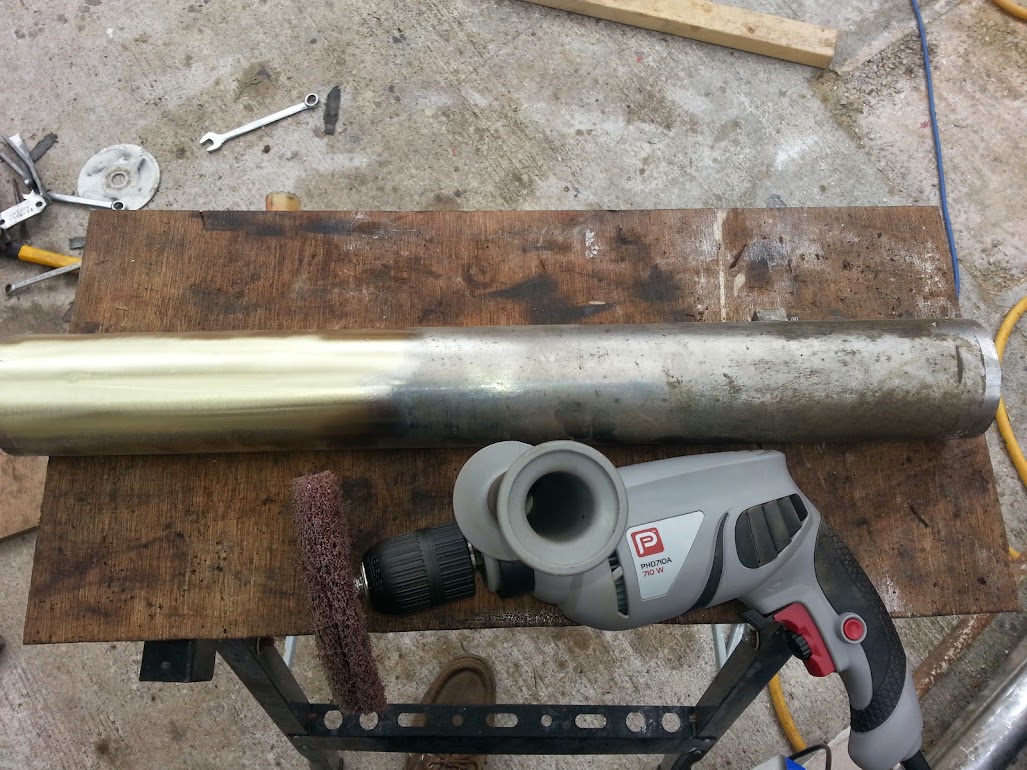
The chrome on the exhaust was all pitted so I cleaned that back to the brass the gear tube is steel so I'll just take the chrome "what's left of it" off and paint it.

Image

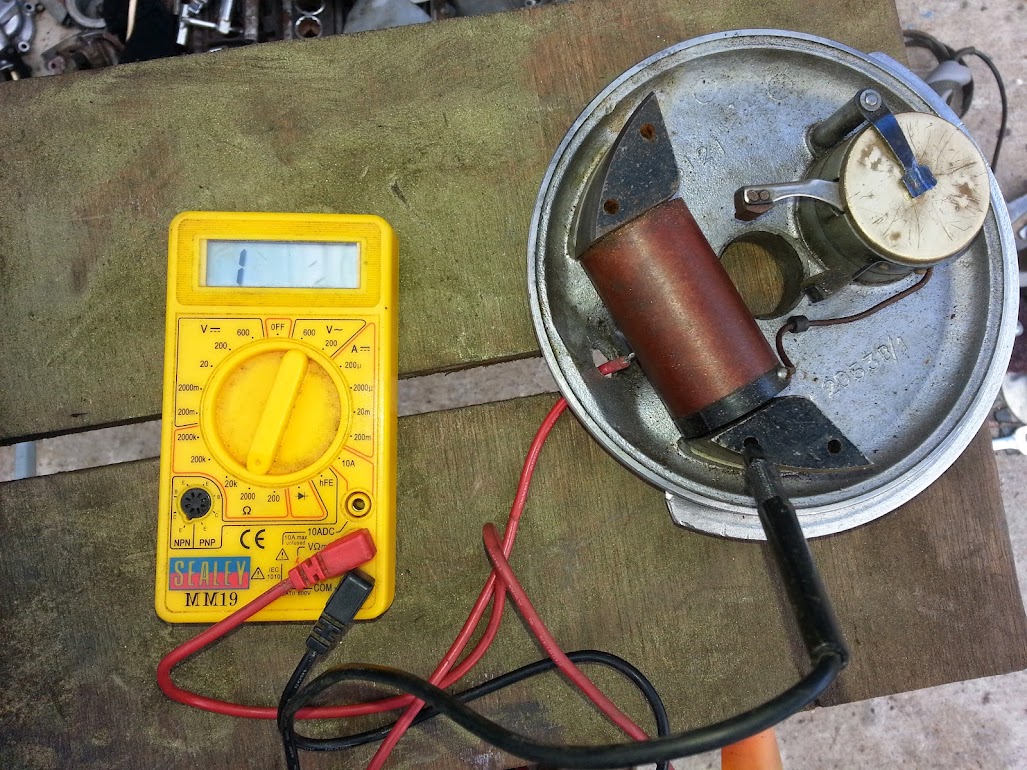
On testing the coil it turned out to be dead :( It should be reading between 3-5K Don't mind the setting on the Meter that was just for the photo :D


Image

So I tested one off a donor engine and it looked good.


Image

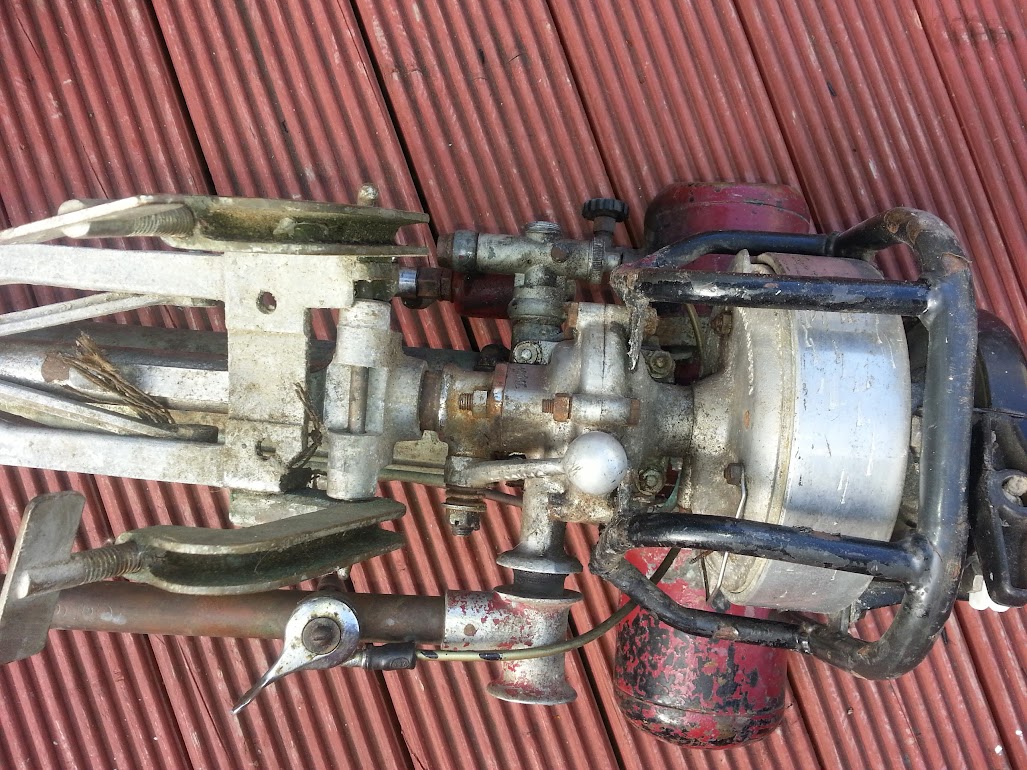
Grand now I just have to swap them over :eek::eek::eek::eek: what a nightmare these are not easy to get off they are held on with to small screws and two studs that are sized in, I used the ratchet on the screwgun to work them loose and some gentle hammering :D I put it back on the head of the donor engine and used the screwgun on the flywheel nut to turn the engine over for a few minutes to charge the condenser once it was charged I got a good spark.

Image
Last edited by sean-nós on Thu Aug 21, 2014 11:35 am, edited 1 time in total.

User avatar
sean-nós
Posts: 743
Joined: Mon Nov 16, 2009 8:19 pm
CMBA Member: 793

Re: Seagull 102 restoration

Post by sean-nós »

Gave the carb a check over and a bit of a spit and polish :)


Image


Image


To remove the flywheel I first undid the nut and sprayed with WD40 then after a few hours replaced the nut and take out the spark plug then turn the engine over so that the piston is at it's furthest point from the plug then get someone to hold the engine up by the flywheel and hit the nut with a good heavy hammer do not use a pullers as they will just warp the aluminium flywheel.
I found an easy way to clean up the flywheel it just bolts onto my bench grinder then working down with fine sandpaper from 400 to 1500 it comes up nice.


Image


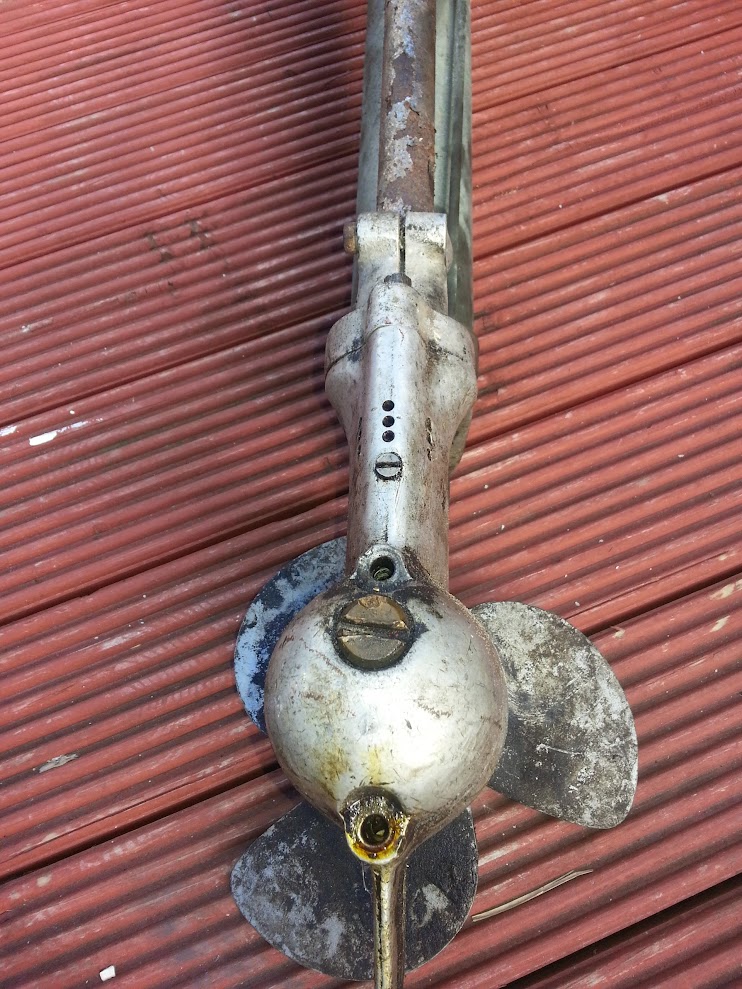
I know these gear boxes allow water in unlike other outboards but when they are run in salt water and then left for 20 odd years it can leave a bit of a mess :eek: but at least I know why it's not turning :D


Image


That's a bit better.

Image


Dents filled primed and painted, I'll give it a coat of lacquer when I get a decal for it.


Image

User avatar
sean-nós
Posts: 743
Joined: Mon Nov 16, 2009 8:19 pm
CMBA Member: 793

Re: Seagull 102 restoration

Post by sean-nós »

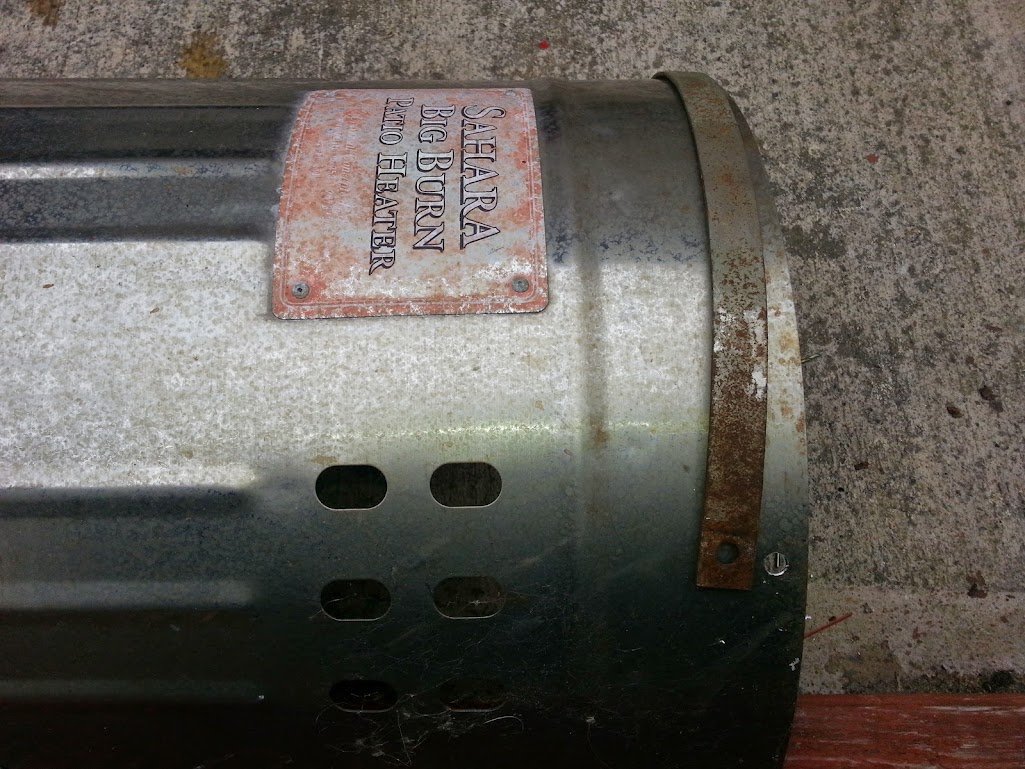
The tank straps were a bit rusted up and the chrome almost gone so back to the patio heater for another bit of stainless steal :) I opened up the band to fit over the heater drilled out the holes and bolted it on to hold it in place while I cut them out.


Image


After a little polish two shinny new straps. :)


Image

I also cut up an old bike inner tube to line the inside of the straps so they won't scratch the tank.

Image


Got the decals from http://www.saving-old-seagulls.co.uk/i_ ... dels.htmon today and built up a few coats of lacquer.

Image


Image


The stud for the tiller arm is also broken and boy was it hard to remove very fine whitworth threads.


Image

User avatar
sean-nós
Posts: 743
Joined: Mon Nov 16, 2009 8:19 pm
CMBA Member: 793

Re: Seagull 102 restoration

Post by sean-nós »

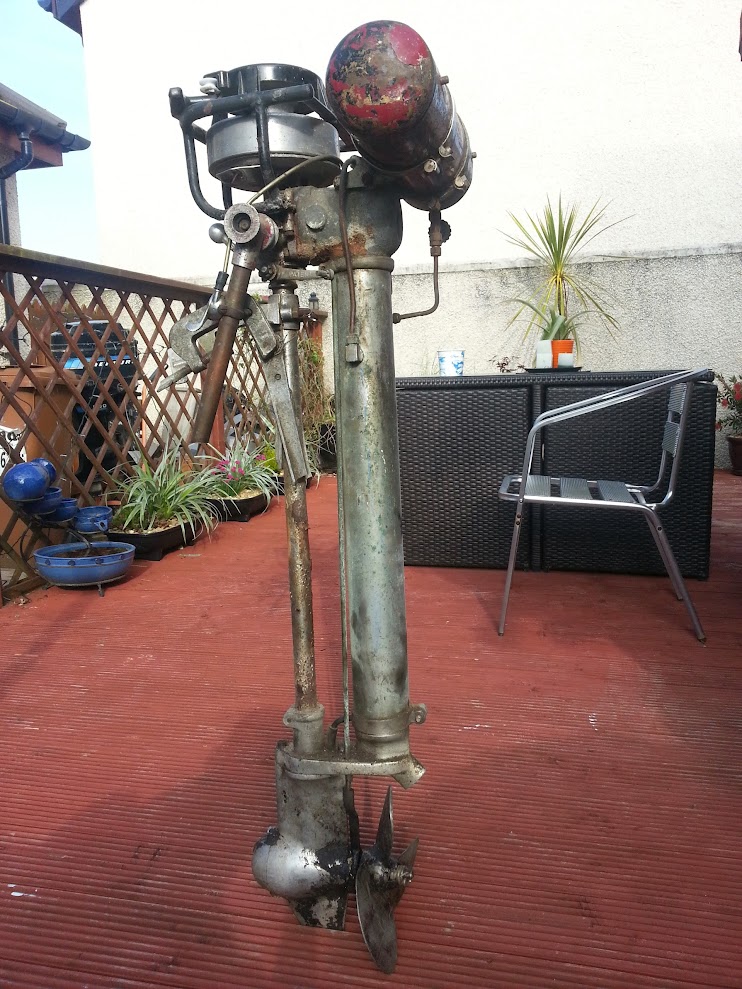
Just about finished now except for the thrust block and a bit of adjusting here and there.

Image


Image


Image

Image

Image

Image

Image

And here is a little video of her first start up, a bit smokey at first but not too bad once she got going :D


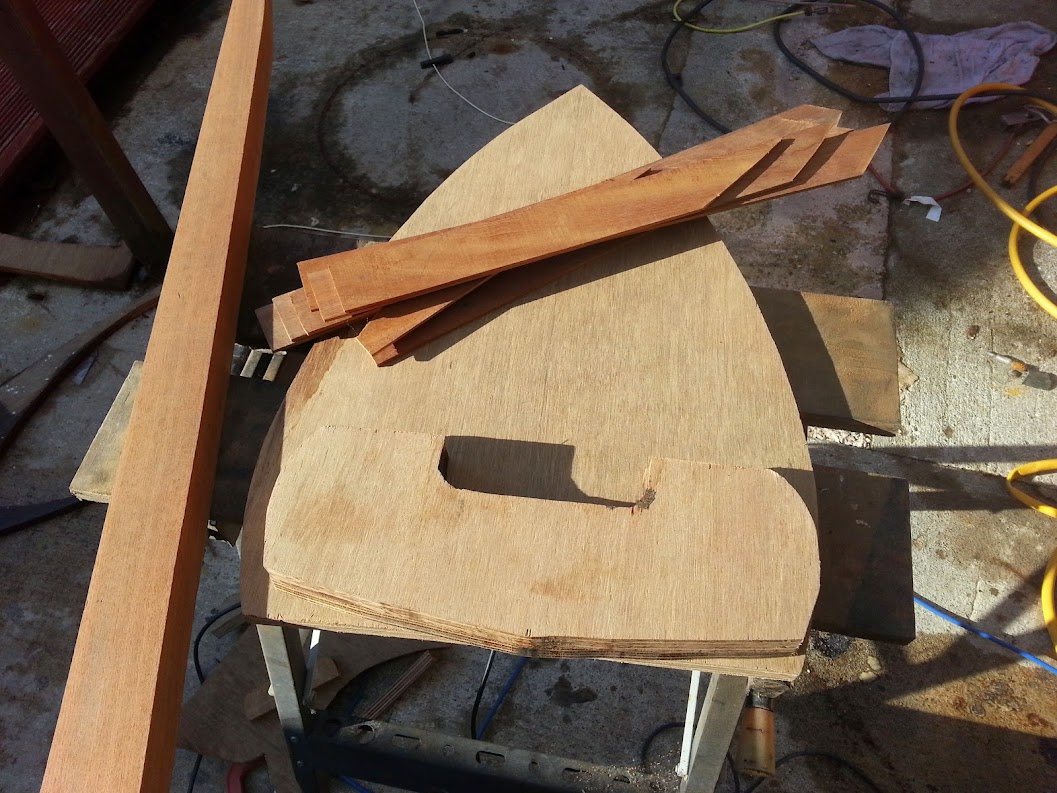
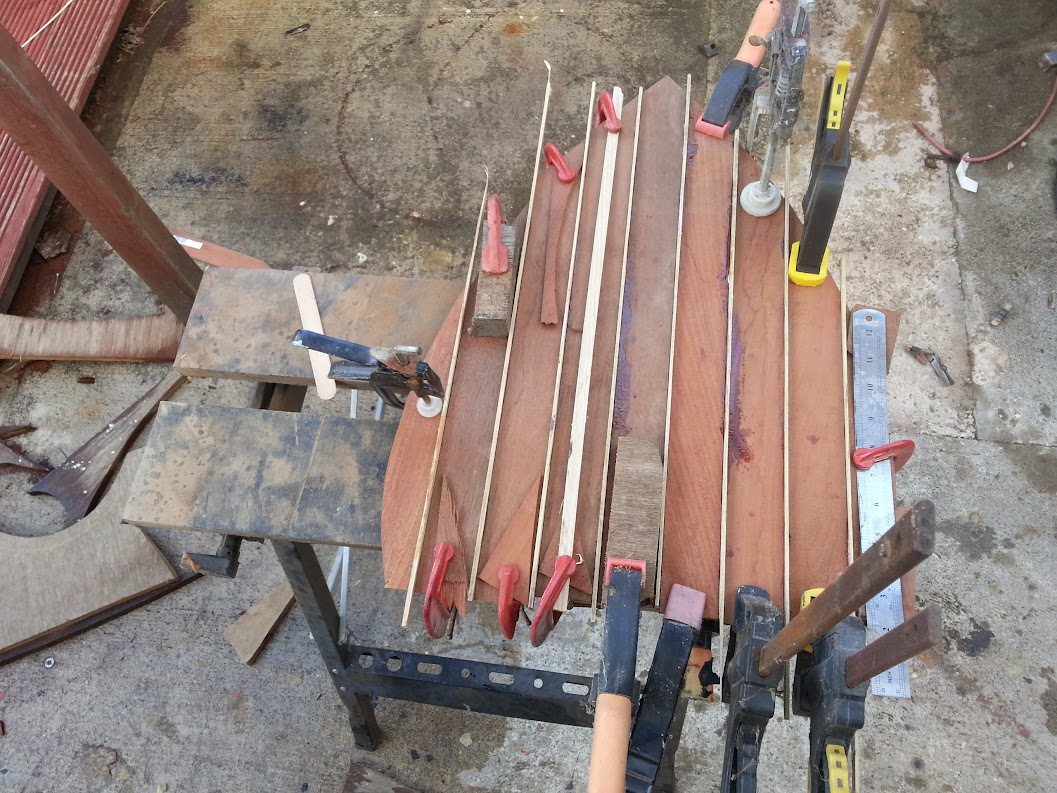
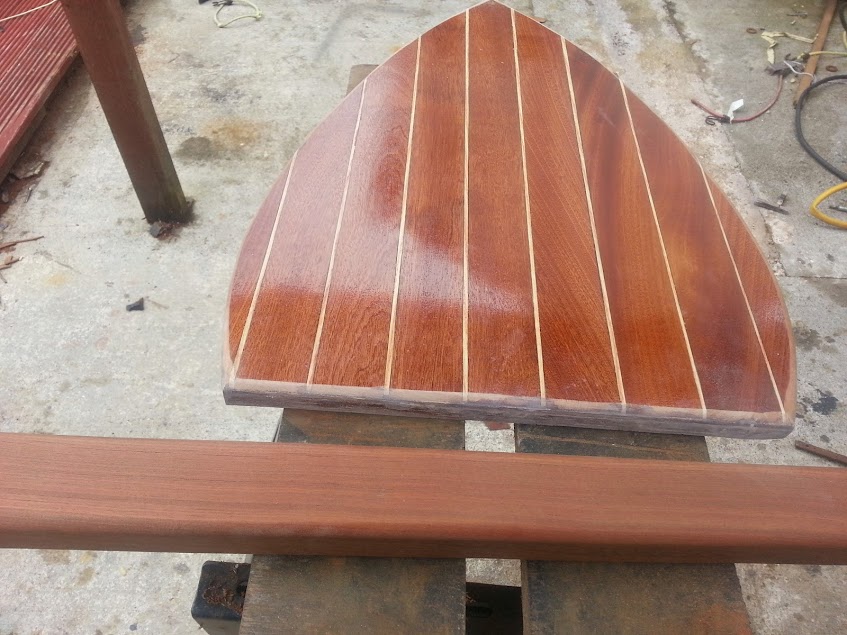
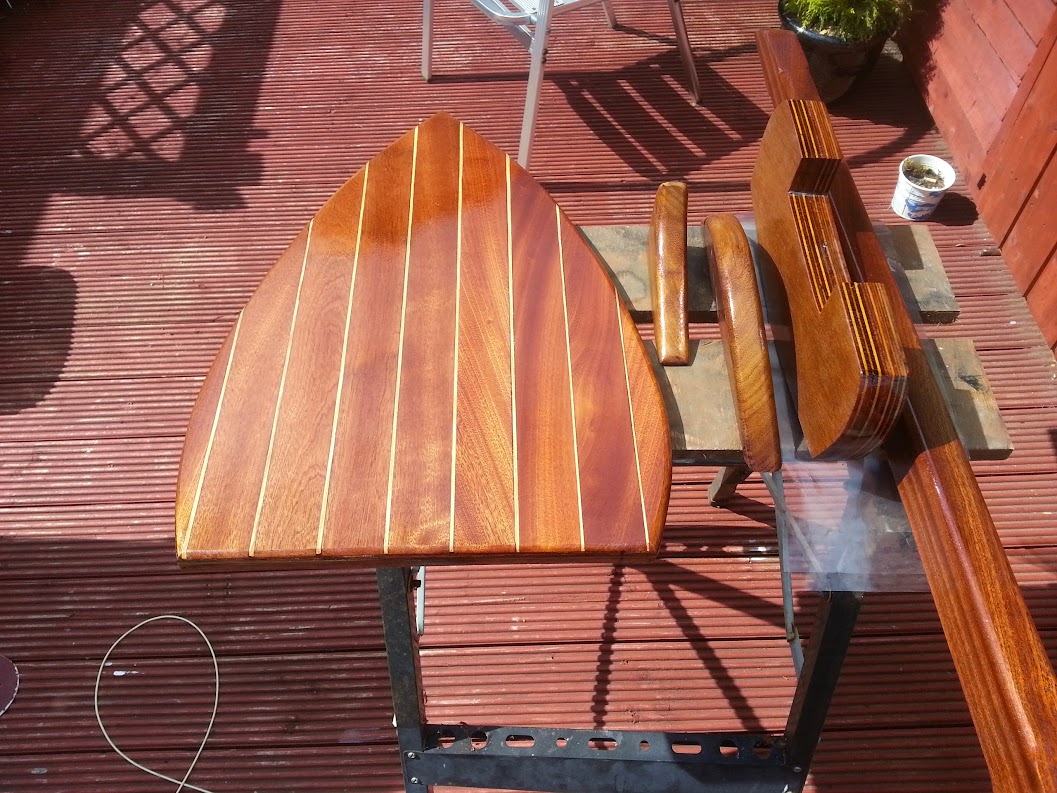
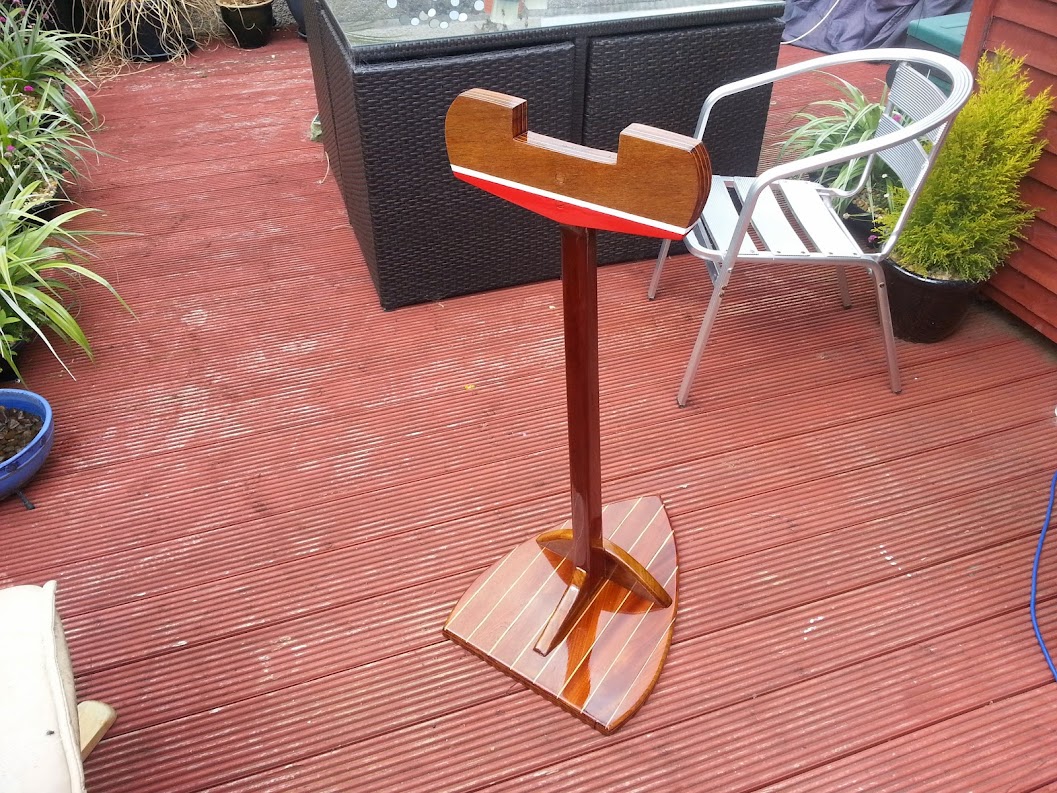
I also made a little stand to sit her on :drink:

Image

Clamped some mahogany to the plywood and cut some ash strips for the inserts.


Image


Image


Image


Image


Image


Image


Image


Image

User avatar
Rapier
Site Admin
Posts: 13931
Joined: Thu Feb 05, 2009 5:16 pm
CMBA Member: 569
Location: West Glos

Re: Seagull 102 restoration

Post by Rapier »

Fantastic job!
Fasten bra straps and remove dentures...

Sicobra
Posts: 277
Joined: Thu Sep 08, 2011 8:03 pm
CMBA Member: 891
Location: Norfolk

Re: Seagull 102 restoration

Post by Sicobra »

Beautiful, hope it's going next to the fire place in your lounge????? :perfect: :perfect: :perfect:

haventaclue
Posts: 610
Joined: Wed Mar 31, 2010 12:13 am
CMBA Member: 924
Location: Donegal, Ireland

Re: Seagull 102 restoration

Post by haventaclue »

Sicobra wrote:Beautiful, hope it's going next to the fire place in your lounge????? :perfect: :perfect: :perfect:
She who must be obeyed mightn't be overly impressed :hilarious: :hilarious: :hilarious:

Beautful job :thumbsup:
no matter how bad it is,it can always get worse,I'm an optimist

User avatar
sean-nós
Posts: 743
Joined: Mon Nov 16, 2009 8:19 pm
CMBA Member: 793

Re: Seagull 102 restoration

Post by sean-nós »

I'm working on it :D I'm slowly killing one of the plants that will give me a nice corner spot :giggle:

Sicobra
Posts: 277
Joined: Thu Sep 08, 2011 8:03 pm
CMBA Member: 891
Location: Norfolk

Re: Seagull 102 restoration

Post by Sicobra »

I have some super industrial strength weed killer that would get rid of that plant quicker, send me details and your welcome too some. :hilarious: :hilarious: :hilarious: :hilarious:

Post Reply